 |
MATERIAL INDICES
By Olivier Saraja |
 |
MATERIAL INDICES
By Olivier Saraja |
Let's get back to our sphere model. Select it (right mouse button) and enter edit mode (TAB). In front view (NUM-1), select the left half of the sphere (B-KEY, once, with the left mouse button). Toggle to the side view (NUM-3) and deselect the lower half of the previous selection (B-KEY, once, but with the right mouse button, this time !). Your selection should look like that.
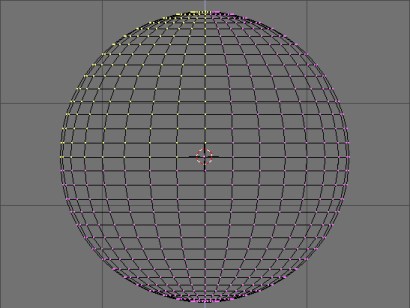
In the Edit Buttons (F9-KEY), click on the New button that we saw in the previous step. The material index should increase from 1 Mat: 1 to 2 Mat: 2. In the Material Buttons (F5-KEY), select the material created previously and called 'Red', and then go back into Edit Buttons (F9-KEY). Click on the Assign button. Select the shaded visualization mode (Z-KEY) and check weither Blender has correctly assigned the 'Red' material to the selected faces.
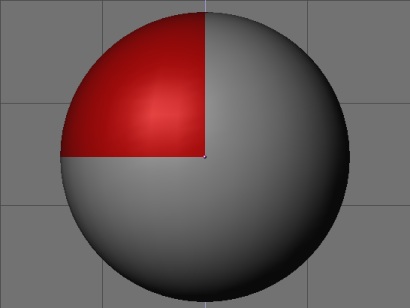
Leave the shaded visualization mode (Z-KEY again) and deselect all the vertices (A-KEY until there's no yellow vertices left). In front view (NUM-1), select the left half of the sphere (B-KEY, once, left mouse button). Toggle to the side view (NUM-3) and deselect the upper half of the previous selection. In the Edit Buttons (F9-KEY), click on the New button. The material index should increase from 2 Mat: 2 to 3 Mat: 3. In the Material Buttons (F5-KEY), select the previously created 'Blue' material, and go back to the Edit buttons (F9-KEY). Click on the Assign button. Select the shaded visualization mode (Z-KEY) and chech weither Blender has correctly assigned the 'Blue' material to the selected faces.
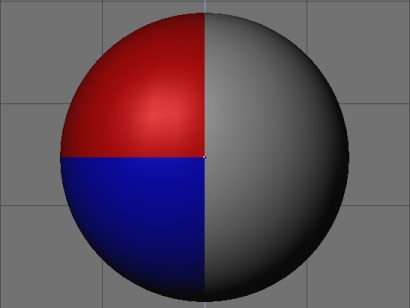
Leave the shaded visualization mode (Z-KEY again) and deselect all the vertices (A-KEY until there's no yellow vertices left). In front view, (NUM-1), select (B-KEY, once, left mouse button) the right half of the sphere. In the Edit Buttons (F9-KEY), click on the New button. The material index should increase from 3 Mat: 3 to 4 Mat: 4. In the Material Buttons (F5-KEY), select the previously created 'Green' material and go back to the Edit Buttons (F9-KEY). Click on the Assign button. Select the shaded visualization mode (Z-KEY) and check weither Blender has correctly assigned the 'Green' material to the selected faces.
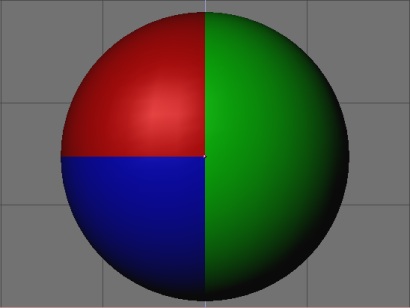
You should now be familiar with the use of indices material, but let's try a last move. Leave the shaded visualization mode (Z-KEY). In top view (NUM-7), select (B-KEY, twice !) many rings of vertices. In the Edit Buttons (F9-KEY), click on the New button. The material index should increase from 4 Mat: 4 to 5 Mat: 5. In the Material Buttons (F5-KEY), select the previously created 'Grey' material and go back to the Edit Buttons (F9-KEY). Click on the Assign button. Select the shaded visualization mode (Z-KEY) and check weither Blender has correctly assigned the 'Grey' material to the selected faces.
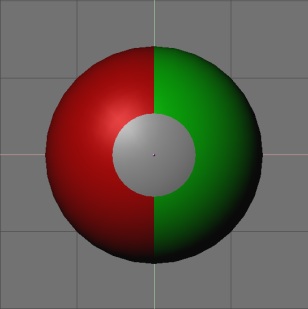
Here we are near total completion of this tutorial ! Before jumping
to the next step and have some fun with all these features, let's clean
our material indices. In the Edit Buttons (F9-KEY) we note (thanks
to the 5 Mat: 5 button) that we have five material indices. However, we
only use four of them : Red, Blue, Green and Grey ! In fact, the first
index is the standard index number attributed to our default base material
of the sphere, just before we started adding indices. As this material
is not useful in our case, we are about to delete it. Click on the left
part of the 5 Mat: 5 button until you get 5 Mat: 1. The name of the material
to be deleted shoud appear obviously at the top of the set of buttons,
be sure to check it before erasing anything. Click on Delete. The
button now displays 4 Mat: 4 and if you check the indices by clicking on
the right part of the button, you should see each of your four materials
appearing at their new index number.
|
|