 |
Blender : Animating smoke with
Blender
By Saraja Olivier |
 |
Blender : Animating smoke with
Blender
By Saraja Olivier |
Please call the Animation buttons (F7-KEY or ![]() button). Click on the
button). Click on the ![]() button, then click on the
button, then click on the ![]() button and hold to have time to select the Particles effect. You
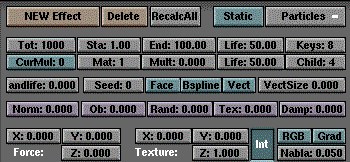
should have this familiar sight.
button and hold to have time to select the Particles effect. You
should have this familiar sight.

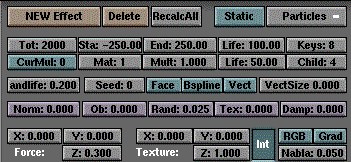
In the Display Buttons (F10-KEY), we see that the default rendering speed of Blender is set to 25 Frames/s. Just as before, to synchronize these two effects, we will undertake a 10s animation (250 Frames). For a light smoke, you don't need more than 2000 particles. For a thicker smoke, like for a good raging inferno, a tire fire or a kerozen fire, you can set up to 4000 and even more if you want a huge smoke column ! In this tutorial, we will set Tot: 2000, which will harmonize lovingly with our previous fire. Set Sta: -250.00 and End: 250.00 to synchronize both particles systems. As you wish a fairly lasting smoke, try Life: 100.00 and RandLife: 0.200 values. Use the same Rand value than your fire (Rand: 0.025 for instance). You can master the heigth of your smoke column with the Force Z button. Try different values, around the double of the value used for the fire: Force Z: 0.300.

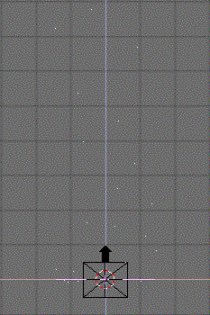
Toggle to front view (NUM-1). Check the animation of your particles
system with ALT+A (ESC to stop the animation). Once again,
you'll note that your emitter spits its particles in a sorted way which
is not natural. As before, we will fix this by entering edit mode (TAB),
selecting all the vertices (A-KEY) and going into the Edit buttons
(F9-KEY). Find the ![]() button and click on it. The particles system should now appear with more
randomness. You can check the result by pressing ALT+A again.
button and click on it. The particles system should now appear with more
randomness. You can check the result by pressing ALT+A again.

|
|