 |
Blender : Modelling with cross
sections
By Olivier Saraja |
 |
Blender : Modelling with cross
sections
By Olivier Saraja |
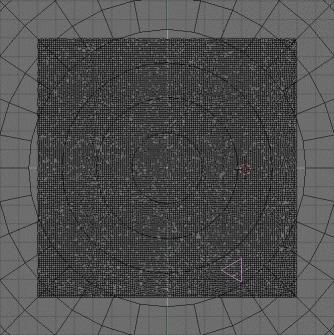
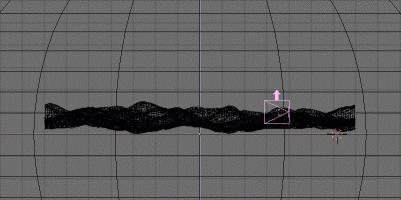
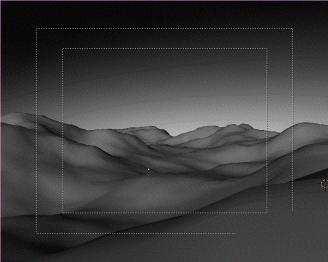
Using the G-KEY, the R-KEY, and the various points of view accessed by the NUM-7, NUM-1 and NUM-3 keys, move the camera inside of the landscape, but try to let it next to its border. Choose a place close to the floor, in order to add dynamism to the view. Check the good placement using the camera view (NUM-0 key) and the shaded view (Z-KEY).
 |
|
 IWe
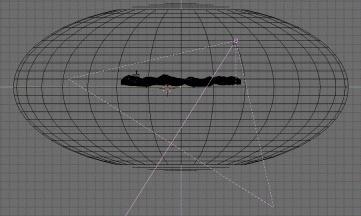
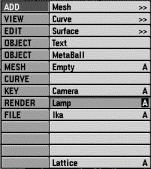
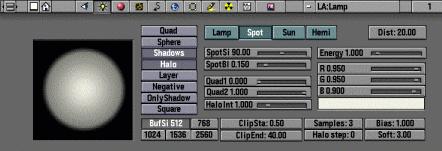
now have to set some good light sources. Place a lamp in front of the camera
at a good height : SPACE>ADD>Lamp. With the R-KEY and G-KEY, orient the
spot in the three different views.
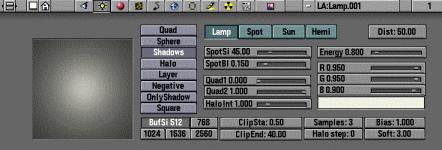
Tips : make sure that another Spot (located at the exact same place than the first) points directly toward the camera, in order to achieve the best illusion possible of a sun. Reduce a lot the angle of its cone (low SpotSi).
  |
|
|
If
you render now your picture, you'll see a feeble sun, not satisfactory.
You can add a last object to your landscape, at the exact location of your
two light sources by using SHIFT+S and Curs->Sel when the Spot, for example,
is selected. Press SPACE>ADD>MESH>Icosphere. Confirm the number of subdivision,
this is not a critical factor. With the S-KEY, lower the size of the Icosphere
to something like these values : Sizex : 0.100, Sizey : 0.100 and Sizez
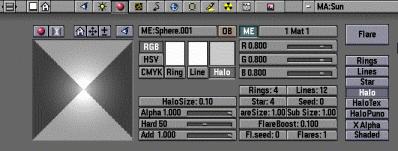
: 0.100. In the Material Buttons (F5-KEY), assign a new material (call
it Sun, for instance) to your Icosphere. Activate the Halo Button and lower
the HaloSize to a low value, just like 0.2. Exit the Edit Mode by pressing
the TAB-KEY.
|
|
|