-
 . .
|
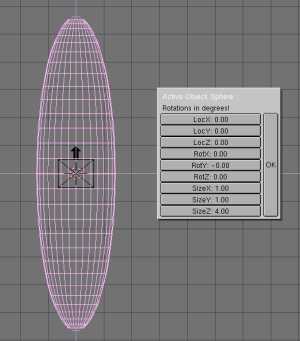
Let's go through a full length example : create
a sphere and give it the following parameters : Loc x,y and z = 0.
Rot
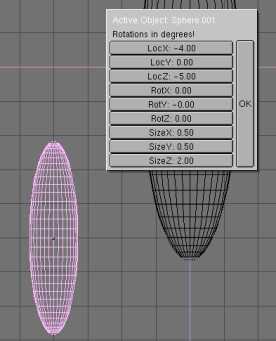
x, y and z = 0. Size x, y = 1, Size z = 4. Duplicate
it and give the resulting copy the parameters Loc x = -4, Loc
y = 0, Loc z = -5. Rot x, y and z = 0. Size
x and y = 0,5, Size z = 2. The central egg-shape should be named
'body' and the copy 'stand'. Let the cursor at the center of 'body' (or
place it at the according place using 'SHIFT+S' -> Curs->Sel) and
add a mesh plane. Move the plane between 'body' and 'stand', enter Edit
mode and move each vertex in order to get something like in the following
view. When you leave the Edit mode, open the Edit buttons (F9-KEY),
click on 'centre new' and name the plane as 'winglet'.
Now make the 'winglet' the parent of the
'stand', and you should get something like this (after sorting a bit the
'data-blocks' view).
-
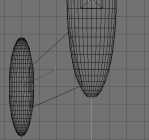
The standard view
|
-
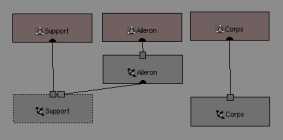
The 'Datas Blocks' view
|

Before going through the next step : activate
the red-enlighted button in the icons bar. This is for making the rotation
(or the scaling) to occur around (or from) the cursor location and not
around (or from) the gravity center of the objects. The cursor should always
be at the gravity center of 'body'.
Select 'stand' and 'winglet'. Shift to
top view ; make a copy with 'SHIFT+D' and apply to the resulting
objects a rotation by 90 degrees (hold CTRL in order to get tabulated increments).
Repeat the same two more times in order to get something like this (after
you have sorted out a bit the mess in the 'data-blocs' window).
Note: The copying function keeps
the hierarchy between the copied objects. You don't have to reset a link
between 'stand' and 'winglet' for each of the copies.
-
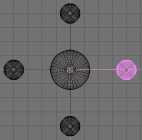
The standard view
|
-
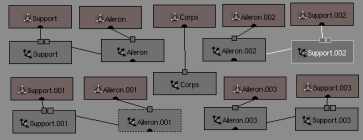
The 'Datas Blocks' view
|
| As a conclusion,
select the four 'winglets' and then the 'body' and go through a last 'Make
parent'. If everything went right from the start, by selecting and
applying any operator to the shuttle's 'body', you should be able to move,
rotate or scale the whole shuttle at once !
Note: You can select the objects
directly from the 'Data blocks' windows but it isn't advised do so with
the purpose of setting parenting links (the 'last select object becomes
the parent' rule isn't valid here). |
-
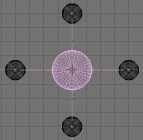
The standard view
|
-
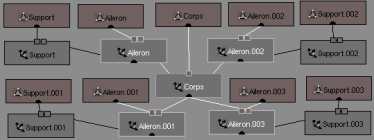
The 'Datas Blocks' view
|
Last note
: About the Empty objects : with the only purpose of creating still
images, or simple animations, we could stop here with this tutorial. But
in the case of a complex animation, this example quickly shows its limits.
You will always find easier to add one or many 'Empty objects' and to make
them the parents of groups of objects. For example, you could create an
Empty named 'Axis', and make it the parent of the body of the shuttle :
any operator applied to the Empty will effect the whole shuttle (suppose
that we choose to apply only a Rotation operator to 'Axis', it will effects
the rotation angle of 'body' which will also pass the same alteration to
all 'winglets' and 'stands', while the shuttle could keep an independant
movement as 'Axis' deals only with rotation alteration). In order to be
more simple : 'Body' could be used to move the shuttle while 'Axis' could
be used to make it spin around itself.


![]()